A guide to block printing supplies
The concept of block printing is otherwise called "relief printing" since there is a raised texture that is left by the ink in paper. This is not similar to letterpress, where enough pressure is applied with enough strain to leave an indent on paper. Usually, this is a hand printing activity; hence the ink gets implanted with the addition of quality texture on the paper.
The Procedure for Printing:
The initial step is to draw the structure. It is critical to turn around the picture if you are utilizing content, as the printed picture will be the invert of the image on the block. Once the image is prepared, the design can be transferred on to the flooring to get a blueprint of where to cut.
The subsequent stage is to cut the structure. It's good to cut away the parts that don't require printing, as you need to apply the ink on the raised surfaces for printing the design. The clean surfaces will be printed onto the paper. Cutting a block may take an hour for a little piece, to many weeks or even months, based on the image size and detail.
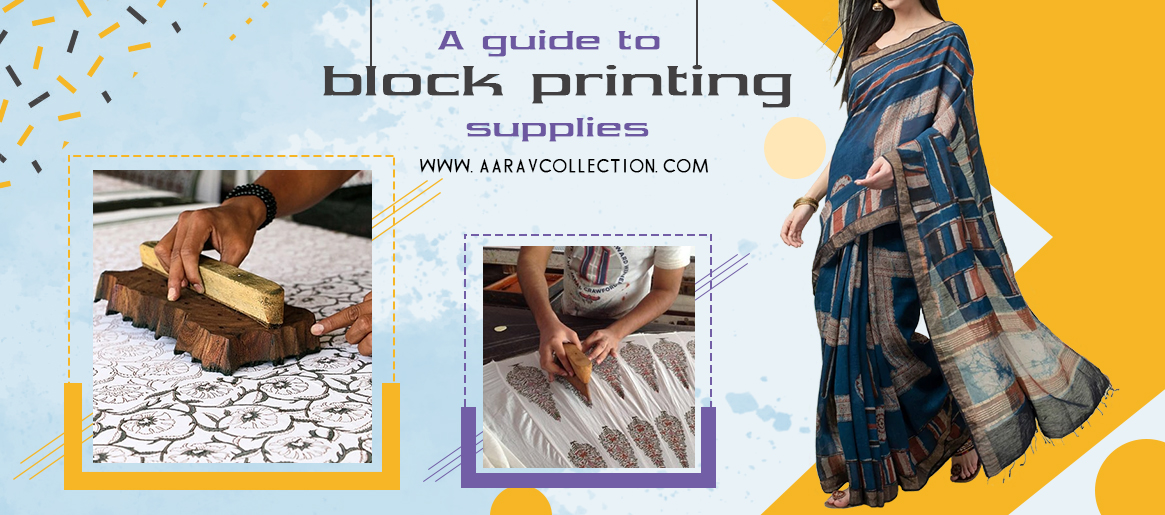
You would need to have a lot of patience for block cutting. If there is a slip of the hand, it can demolish the entire piece. With training, you can become familiar with the measure of weight it takes to cut the material, and the best ways to use for specific structures.
When the block is cut, the overabundance should be trimmed off with scissors to give it a straight edge, and afterward, it is prepared for printing. There is a wide range of kinds of ink available, and it's critical testing them out to locate the best one. You can use oil-based inks since they give the best even inclusion, and print well on both texture and paper. However, there are bunches of alternatives out there.
To print, pour a limited quantity of ink onto a bit of glass or plexiglass, and turn it out with a roller (likewise called a brayer). This is necessary to get a thin, even layer since it's essential to apply the ink uniformly to the block.
You then need to roll the ink on the block, ensuring there is a thin, however, even layer in general structure. Then you pick out the block and continue pressing it down onto the paper or texture. Use your hands to do this. You would also need a printing desolate (a particular device to apply strain to a block), a pin (rolling), for walking, or with a print machine – whatever it takes to apply pressure evenly.
The most significant part is to apply pressure uniformly. It is because shading will be more grounded in certain zones of the print than others if the pressure is not applied evenly. This is likewise a stage that takes some training and idealizing.
The ink at that point takes a few days for drying, so not at all like other printing forms, there is a long hold up time before the prints are prepared to utilize. The inks (oil-based) can take from two days to seven days to completely dry, while water-based inks will dry somewhat quicker. The inks are dried gradually so you can print without having the ink dry on the block. If you print with a quick-drying ink or paint, it will here and there begin to dry before you have even completed the print, giving an extremely lopsided inclusion.
Conclusion:
This sort of printing is likewise an excellent method to create something that is really high quality; however, it can be effortlessly repeated. Cutting the square is tedious and requires a ton of persistence, yet once you have the block, you can utilize it hundreds or thousands of times.
A block-print is additionally one of the least demanding printing strategies, to begin with, since the materials expected to start are generally cheap, and you needn't bother with a great deal of hardware for printing. It's an incredible method to get into the printing profession.